Several months ago Calvin came home with an old wooden printer’s drawer filled with tiny metal letters and a foil-stamping press. At first I was hounding him for bringing more junk in our two bedroom apartment than we have room for, but I soon realized I could benefit from these finds.
I browse Etsy fairly often and happened to come across this and begged Calvin to let me turn the printer drawer he’d brought home into one of my own. Thankfully, he agreed as long as I agreed to clean out all the bazillion letters and sort them into alphabetical order in case he ever wants to use them for something. I happily said I would and one Friday night and two-and-a-half hours later, the letters were no longer in the drawer and alphabetized by upper and lower case. Booyah.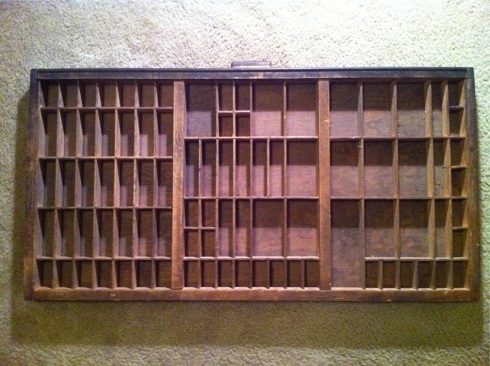 Then I had to clean all the dust and gunk out of each and every tiny compartment before I could actually do anything fun. I think this is the reason I don’t start projects very often; you have to do so many things before you actually get to the fun stuff. And who wants to be cleaning out dust and grime from tiny compartments and crevices when you could be staining or painting and arranging your jewelry?
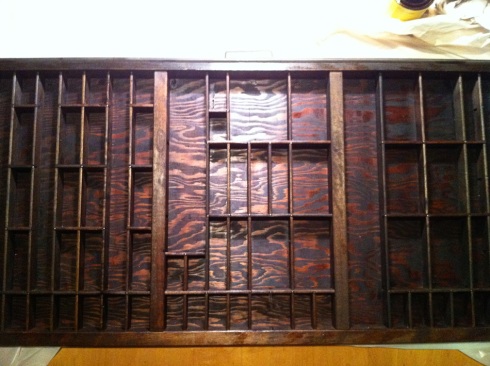
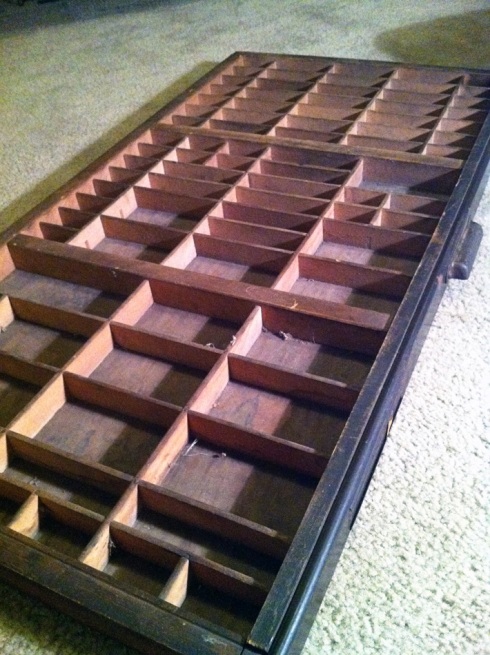 But once the drawer was finally clean, the next step was to remove some of the crosspieces so that several of the compartments were big enough to hold necklaces and bracelets. I used my Etsy inspiration for a guide, and Calvin used Photoshop to take out which of my crosspieces I wanted to remove, so
 I’d he’d have an easy pattern to follow when cutting them out. This is where having lots of tools comes in handy, which we do not. We tried a few small saws we had on hand, but it was obvious they just weren’t going to cut it. {Ha, I didn’t even plan that pun but now that it’s there I’m just going to run with it!}
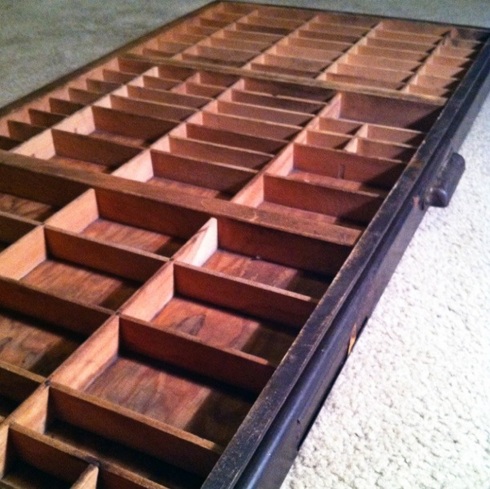 After a few more failed attempts with various saws we borrowed from my dad, we decided a sabre saw was necessary. Thankfully, Calvin’s dad had one so we took the drawer with us when we went over there for dinner one night. And it worked! So now the drawer was finally ready for the fun part. We chose to stain it a dark walnut so you could still see the natural wood grain and all the jewelry would really pop off the dark background. I only applied one coat and wiped it off after about ten minutes. There were a few spots that looked like they might need some touching up, but I saved those until after I screwed all the hooks in in case I nicked any spots in the process.
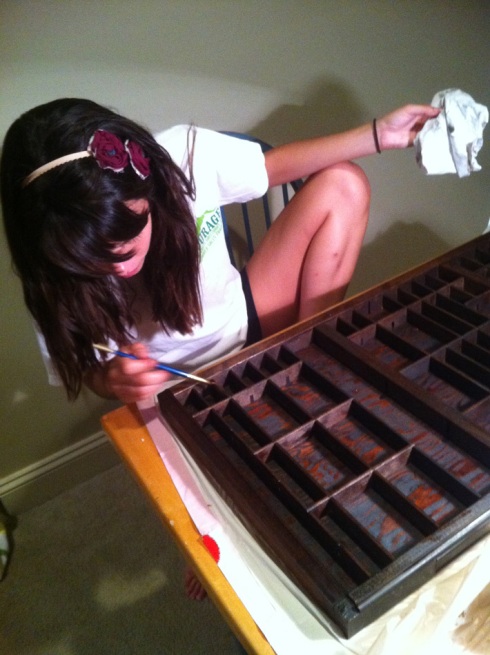
 For the hooks I used small eye bolts and medium hooks that I found in 20-40 count packs at Lowe’s. The only kind they had were silver, white, or gold so I bought a can of oil-rubbed bronze spray paint so they would blend in with the wood better. I applied one coat per side to the eye bolts and hooks and let them dry for about an hour before doing the second side. {Just a helpful tip: don’t spray paint these on plastic bags even if you don’t have newspaper. The paint sticks to the bag and peels off the hooks when you try to remove them. And no, I do not know this from experience. :)} This was a two-day step for me because I painted the first coat in the evening and after a brief meltdown from the stick-and-peel fiasco, I basically had to start over. But if you use newspaper and allow plenty of drying time between sides, it should be pretty painless.
Once they are painted and dry, the next step is to drill small, starter holes in the wood. I laid out the hooks and eye bolts in each compartment according to how I wanted them, and then Calvin used a small drill to make the hooks easier to install. {Another tip: you’ll want the hole big enough for the thread of the hardware, but not so big that it slips out. I think the drill bit we used was 3/32, but this will vary depending on the hardware you use.} And then you apologize to your fingers for the torture you’re about to put them through, and carefully begin to twist each one into the pre-drilled holes. {The wood is tough and the compartments are so small that this is extremely frustrating and difficult. I was not aware of what I painful process this was, so don’t say I didn’t warn you!}
You can arrange the combination of hooks and eye bolts any way you like. And you can even leave some empty and attach wine corks with Velcro for stud-earrings. I saw this idea on a blog I read as a tutorial for how to make this and thought it was a great idea! Now all my small, stud-earrings can be in the same place as the rest of my jewelry. 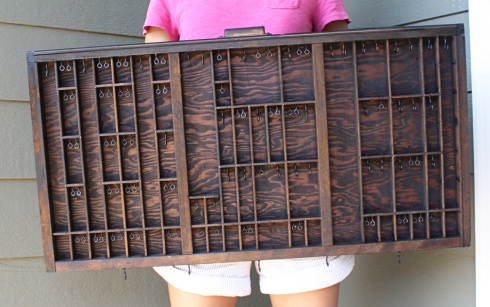 The last step is to determine how you will hang this. Keep in mind it’s pretty heavy and the jewelry will also add a little weight. I actually didn’t have to worry about this step because Calvin took it to work with him and they attached wire to the back of it like you see across the back of large picture frames. {The perks of working at a photography studio!–thanks guys!}
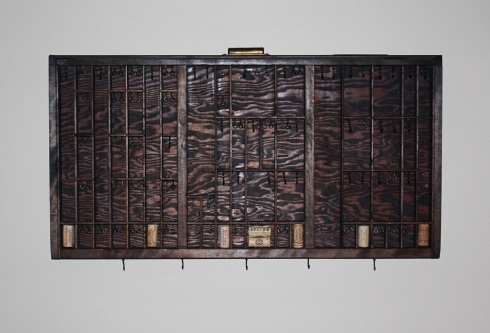 And that’s it! Just hang and arrange your jewelry. And if you’re like me, you’ll feel like you have a whole new jewelry collection because now you can actually see everything! Hooray!
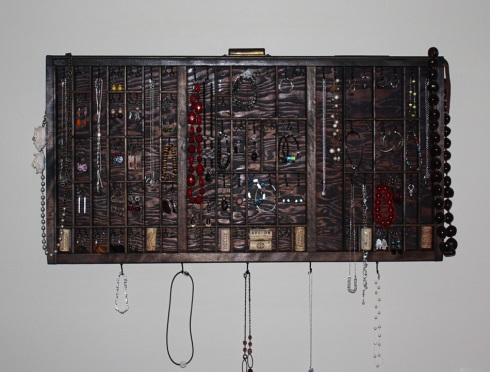 It was definitely a lot more involved than I thought it would be, but it was so worth it. I LOVE the way it turned out. I’d love to know if you try this; I’ve heard you can often find these drawers and garage sales or local antique shops. Re-purposing things is so much fun. What have you tried lately?

